Full Body MRI Scan: Tech Guide to Protocols, Coils, and Patient Prep 2026 July
🗨️ Full body MRI scan guide for MRI techs: protocols, coil selection, SAR management, contrast decisions, patient screening, and registry exam tips.
A full body MRI scan has moved from elite executive medicine into mainstream preventive screening, and the demand is reshaping how clinics schedule, staff, and bill imaging studies. If you are an MRI technologist preparing for board certification or a registry exam, you need to understand what a full body MRI actually involves — the protocols, the magnet strength choices, the contrast questions, the patient safety screening, and the limitations that vendors rarely advertise.
Unlike a focused exam targeting one anatomical region, a whole body study chains together multiple stations — usually head, neck, chest, abdomen, pelvis, and sometimes lower extremities — using a moving table and stitched coverage. The sequences are deliberately fast: diffusion-weighted imaging, T1 Dixon, T2 STIR, and sometimes a quick T2 HASTE. The whole acquisition rarely exceeds 60 minutes.
Throughout this guide you will see why protocol selection matters, where the false positives come from, and how to counsel patients before the appointment so they arrive properly prepared. We also cover the registry-style questions that examiners love to ask — SAR limits across stations, coil selection logic, B1 inhomogeneity at 3T, and patient screening edge cases.
Full Body MRI at a Glance
Before you queue up a whole body protocol, confirm what the referring physician is actually looking for. A patient referred for cancer surveillance after Lynch syndrome screening has different sequence priorities than a self-pay executive who wants reassurance.
The Lynch patient needs full diffusion-weighted whole body MRI with b-values up to 1000 and ADC maps generated automatically. The executive scan typically prioritizes T2 STIR and T1 Dixon for fat-water separation, with diffusion as an optional add-on. Knowing the indication changes everything about how you set up the table, position the coils, and counsel the patient about breath-holds.
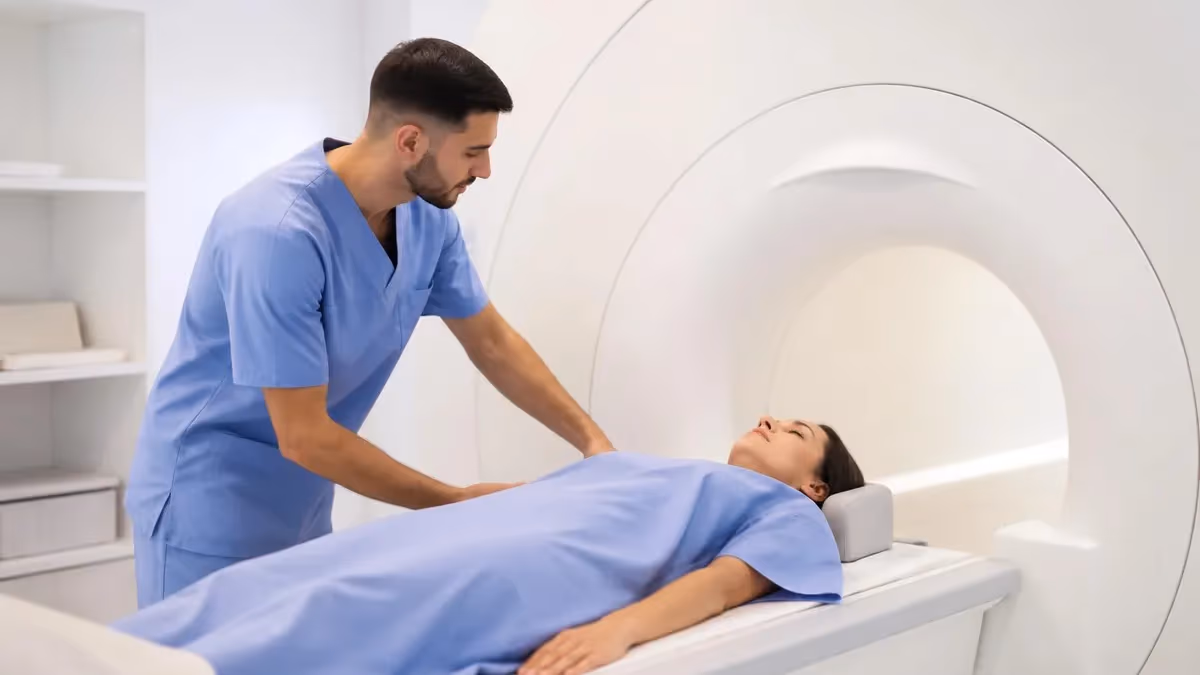
Patient positioning for a full body study is a small art form. You will use a combination of head, neck, body, and spine array coils, all daisy-chained to cover the full field of view without repositioning. The table moves between stations, so you must verify coil connections at every station check. A loose body coil at the abdomen station gives you a noisy, useless dataset that you cannot rescue in post-processing.
At a glance: A full body MRI typically images from the vertex to the mid-thigh and uses 5 to 7 overlapping stations. Each station is acquired separately and stitched in post-processing, which is why patient breathing consistency matters across stations — a deep inhale at station 3 misaligns the diaphragm relative to station 2.
Sequence selection is where junior techs make the most mistakes. The standard core protocol uses three sequences across every station: T1-weighted Dixon for fat-water separation, T2 STIR for fluid-sensitive lesion detection, and diffusion-weighted EPI for cellularity assessment. Each has a job. Dixon T1 reveals marrow infiltration, fatty liver, and adrenal nodules. STIR lights up edema, inflammation, and most tumors. DWI flags restricted diffusion in malignancy, abscesses, and acute infarcts.
Some centers add a contrast-enhanced sequence for the chest and abdomen, but this is controversial. Gadolinium adds 15 minutes, requires an IV, and creates the gadolinium retention conversation with the patient. Most screening protocols are now non-contrast by design, leaning on diffusion-weighted imaging to do the heavy lifting that contrast used to perform.
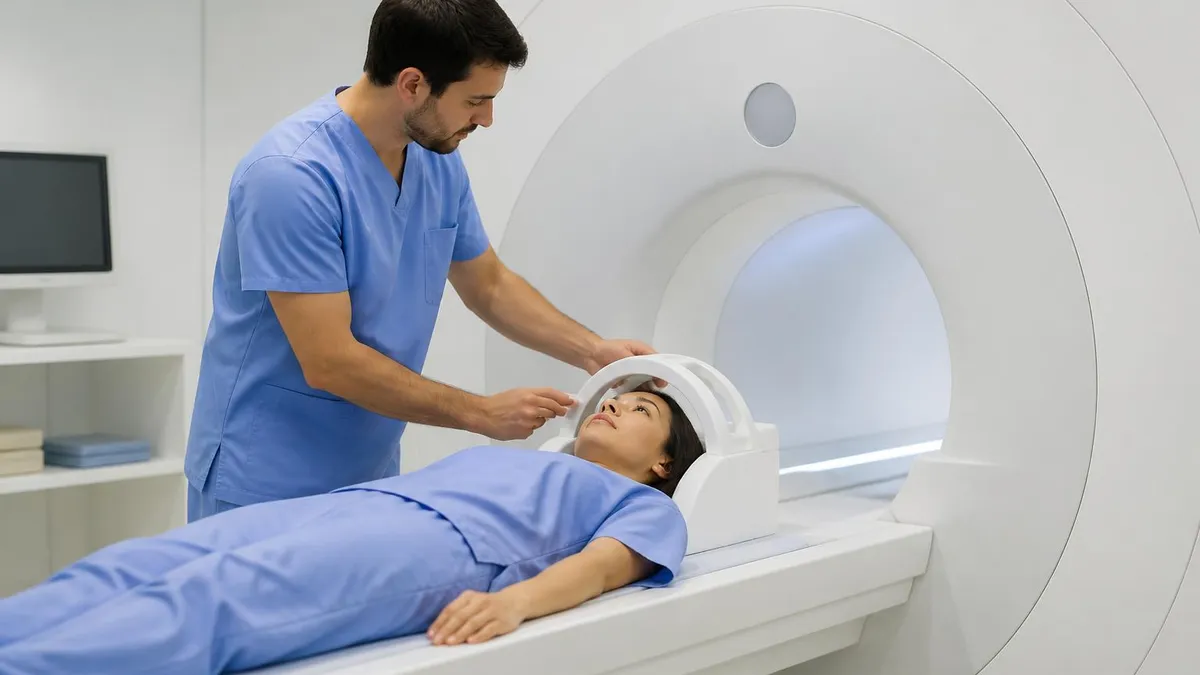
Coil selection is automatic on most modern Siemens, Philips, and GE systems — the scanner detects which coils are plugged in and activates them station by station. Your job is to verify the coil layout matches the protocol diagram before the patient lies down. A missed neck array coil means you image the neck with the body coil, and the SNR drops by half.
Full Body MRI Stations
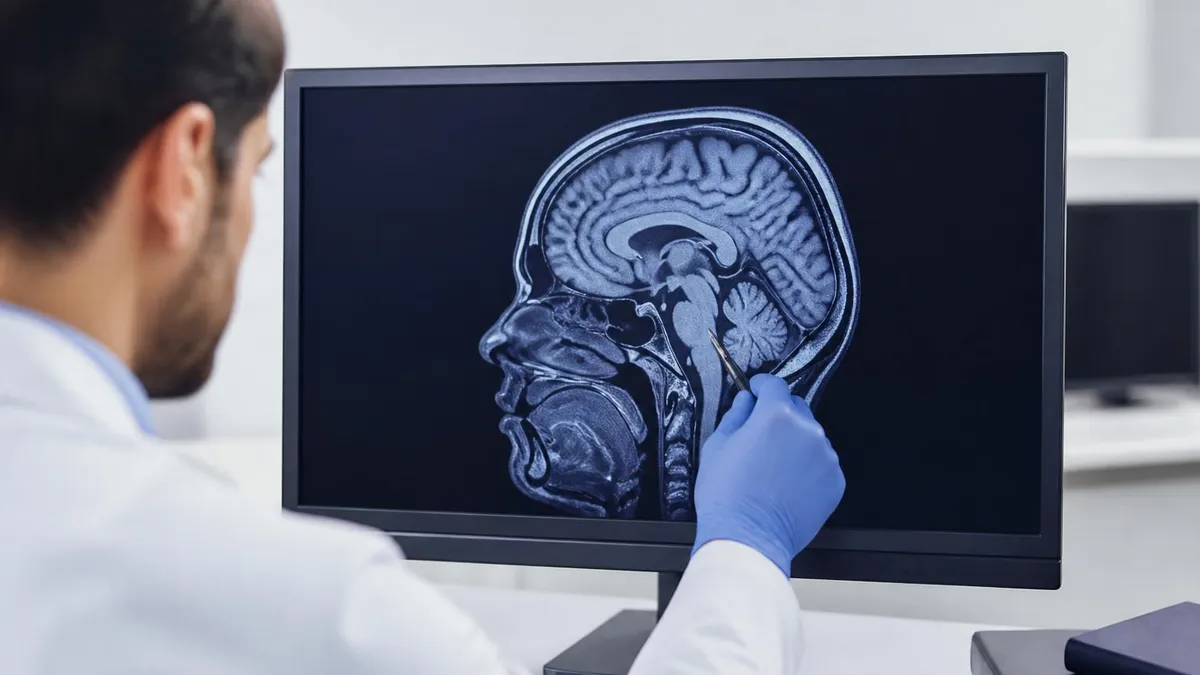
Brain DWI, T2 FLAIR, neck T2 STIR. Detects strokes, glioma, lymphadenopathy, thyroid nodules.
T1 Dixon, T2 STIR, optional contrast. Screens for lung nodules over 8mm, mediastinal mass, lymphoma.
DWI, T1 Dixon, T2 HASTE. Liver lesions, pancreatic cysts, adrenal nodules, kidney masses.
T2 high-res, DWI, optional contrast. Prostate, uterus, ovaries, bladder, pelvic nodes.
Sagittal T1 and STIR full length. Compression fractures, marrow lesions, disc disease.
Coronal T1 and STIR of femurs. Marrow disease, bone metastases, soft tissue masses.
Magnet strength matters more than most marketing materials admit. A 1.5T whole body MRI gives you robust, predictable images with fewer artifacts and less SAR concern. A 3T whole body MRI doubles your signal-to-noise ratio in theory, which means higher resolution or faster scans, but it also doubles your susceptibility artifacts, your dielectric shading in the abdomen, and your specific absorption rate problems.
At 3T you will routinely hit SAR limits during turbo spin echo sequences, especially in larger patients, and the scanner will throttle your TR or your flip angle to compensate. For diffusion-weighted imaging, 3T offers a real advantage. The higher SNR lets you push b-values to 1000 or 1500 without unreadable noise floors.
But for T2 sequences in the chest and abdomen, 1.5T often produces cleaner images because the longer T2 relaxation times at lower field strength forgive minor breathing motion better. Many tertiary centers run a hybrid model: 1.5T for routine whole body screening, 3T for cancer staging or research protocols.
Patient screening is identical to any MRI. You must clear ferromagnetic implants, pacemakers, cochlear implants, neurostimulators, and old aneurysm clips. The wrinkle with whole body scans is that you also need to check for implants in regions a focused exam would never touch: penile implants, IUDs, mesh implants, dental implants, surgical clips, and pellets from childhood BB gun accidents.
Whole Body MRI Details
Common referral indications include cancer surveillance in genetic syndromes (Li-Fraumeni, BRCA, Lynch), staging of known malignancy, multiple myeloma workup, unexplained weight loss, and executive preventive screening. Self-pay screening accounts for an increasing share of volume at private imaging centers, often marketed under brand names like Prenuvo, Ezra, or Q Bio.
Incidental findings are the dirty secret of full body screening. Studies of asymptomatic adults show that 30 to 40 percent of whole body MRIs reveal at least one finding that triggers additional workup. Most are benign — simple liver cysts, renal cysts, thyroid nodules, fibroids, adrenal adenomas. But each one creates a clinical follow-up obligation.
A 6mm liver lesion in a screening scan must be characterized, which often means a dedicated multiphase MRI or CT, sometimes a biopsy, sometimes an oncology referral. The cascade of additional testing is expensive, anxiety-provoking, and occasionally harmful. This is why the major radiology societies have been cautious about endorsing full body screening for asymptomatic patients.
The American College of Radiology does not currently recommend whole body MRI as a population-wide screening tool. They acknowledge specific high-risk groups benefit. Li-Fraumeni syndrome patients, for example, have explicit surveillance guidelines that include annual whole body MRI starting in childhood. But for the otherwise healthy adult, the evidence for net benefit is weak.
That ambiguity does not stop the commercial market. Companies like Prenuvo have built consumer-facing brands around the screening proposition, with celebrities endorsing the experience on social media. Whether you work at one of those centers or a hospital-based outpatient imaging facility, you will encounter patients who arrive with strong expectations about what the scan will find.
Cumulative SAR across multiple stations adds up. A six-station whole body scan can push large patients close to the IEC normal operating mode limit. The scanner will automatically increase TR or reduce flip angle, lengthening the scan. Plan for 10 percent longer acquisition times in patients over 100 kg, especially at 3T.
Motion is the second biggest enemy of whole body MRI image quality after coil errors. Patients hold their breath at every chest and abdomen station, and breath-hold inconsistency between stations creates registration errors that make the stitched composite image look misaligned. Coach the patient on the breathing protocol before the scan starts.
A simple instruction script — breathe in, hold, scan, breathe out, rest, repeat — works better than ad hoc instructions through the intercom mid-scan. Some scanners offer free-breathing protocols with radial acquisition or PROPELLER motion correction, which lets you image the abdomen without breath-holds at all.
The tradeoff is a longer scan time per station and slightly lower in-plane resolution. For elderly patients or claustrophobics who struggle with breath-holding, this is a fair tradeoff. You will see registry questions on the indications for radial versus Cartesian acquisition in motion-prone anatomy.
Diffusion-weighted imaging deserves special attention in the whole body context. The standard protocol uses b-values of 50 and 800 or 1000, with ADC maps calculated automatically. Some protocols add a b-value of 1500 for prostate, but for general whole body screening b800 to b1000 is sufficient. Inverted greyscale display mimics PET imaging and is what radiologists usually prefer for whole body DWI review.
Pre-Scan Tech Checklist
- ✓Verify patient screening form is complete and signed before pulling them to the magnet
- ✓Confirm GFR within 30 days if gadolinium contrast is planned
- ✓Check all coil connections at every station - body, spine, neck, head, peripheral
- ✓Coach breathing protocol before scan starts - rehearse one cycle on the table
- ✓Set landmark precisely at the vertex or eyebrow line per protocol
- ✓Confirm patient has emergency squeeze bulb and call button within reach
- ✓Verify hearing protection in place - foam earplugs plus over-ear headphones
- ✓Run a scout image at every station before starting diagnostic sequences
- ✓Check SAR status mid-scan, especially in large patients at 3T
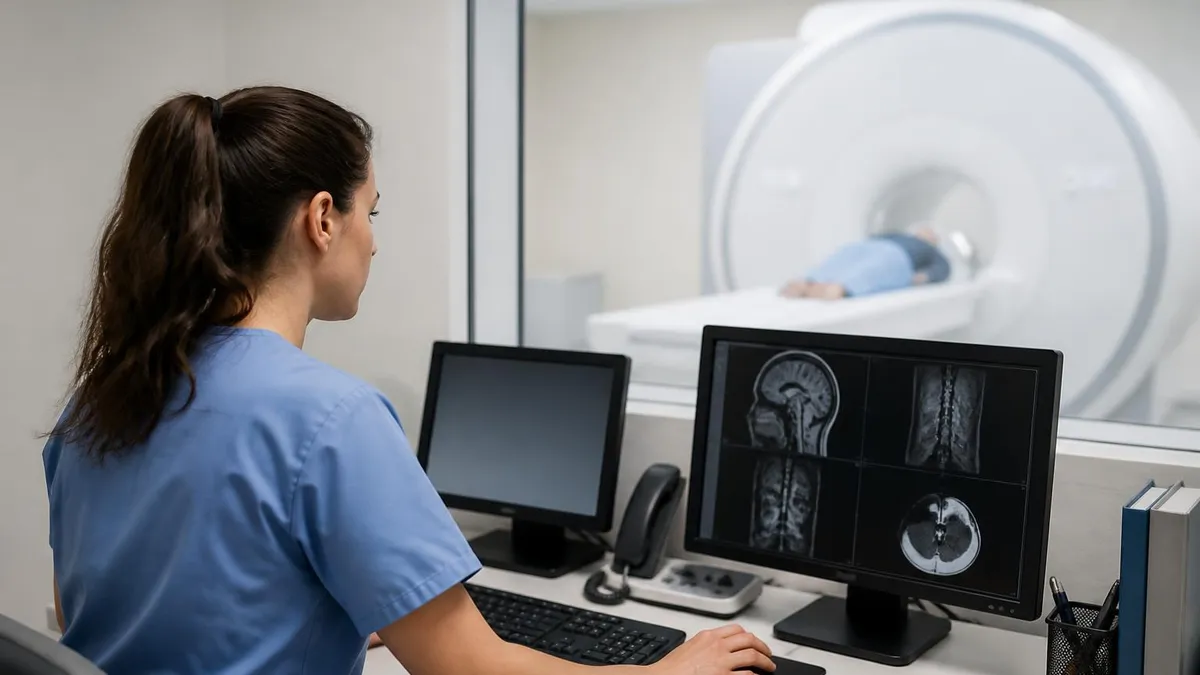
- ✓Save and stitch composite images per radiologist preference before patient release
Documentation expectations for whole body MRI are stricter than for focused exams. Your tech notes must record the indication, the protocol used, any deviations from protocol, contrast dose and lot number if used, any adverse events, and the patient's tolerance of the procedure.
Many centers also require a coil layout diagram in the patient's electronic record, especially if the scan revealed positioning artifacts that the radiologist might query. Charge capture is another area where techs get caught out. Whole body MRI does not have a single CPT code.
It is billed as a combination of multiple regional MRI codes — brain, neck, chest, abdomen, pelvis, spine — each with its own contrast modifier. Cash-pay screening centers often bundle this into a flat fee, but hospital-based exams require code-by-code documentation that maps to the CPT structure. Get this wrong and the billing department will route the chart back to you for correction.
Workflow consistency separates the techs who run smooth shifts from those who chase delays all day. Build a station-by-station mental checklist and run it every time. Verify coils, verify landmark, run scout, check protocol, start scan, monitor SAR, move table. Repeat. The patients who get sloppy scans are the ones whose techs skip steps.
Patient communication is the soft skill that separates great techs from average ones in this specialty. Whole body MRI patients are often anxious, sometimes because of what they fear the scan might find, sometimes because of the long enclosed time, sometimes because they paid out of pocket and want their money's worth in attention. Spend the first three minutes explaining what will happen station by station.
Show them the call button. Demonstrate the headphones. Tell them when the loud noises will start and what they will sound like. The investment in preparation reduces motion artifact, increases patient cooperation, and earns you better reviews on the patient satisfaction surveys that increasingly affect your annual compensation review.
Full Body MRI Pros and Cons
- +Single appointment covers head to thigh, reducing patient time off work
- +No ionizing radiation - safe for repeat surveillance in high-risk patients
- +Excellent soft tissue contrast detects lesions CT may miss
- +Diffusion-weighted imaging flags malignancy without contrast
- +Particularly valuable in genetic cancer syndromes like Li-Fraumeni
- −High incidental finding rate triggers expensive follow-up testing
- −Long scan time challenging for claustrophobic or elderly patients
- −Insurance rarely covers screening indications - mostly self-pay
- −False negative rate for lung nodules under 8mm is significant
- −Resolution lower than dedicated regional MRI for any single anatomy
One question that comes up constantly in registry prep is whether whole body MRI replaces PET-CT for cancer staging. The honest answer is sometimes yes, sometimes no. For myeloma, lymphoma, and certain pediatric tumors, whole body MRI with diffusion is now considered equivalent or superior to PET-CT.
For lung cancer staging, PET-CT remains the standard because of its sensitivity for small pulmonary nodules and its ability to characterize metabolic activity in indeterminate nodes. For prostate cancer staging, whole body MRI with diffusion and dedicated prostate sequences is increasingly used, especially in younger patients trying to avoid radiation exposure.
Future directions in whole body MRI include AI-assisted reconstruction that lets you halve acquisition time without losing image quality, fingerprinting sequences that quantify tissue properties in absolute units rather than relative contrast, and standardized reporting templates that reduce inter-radiologist variability. These are coming fast.
If you are studying for certification today, expect AI-related questions to appear within the next two to three exam cycles. The vendors are publishing white papers monthly. Boards adapt to that literature within a year or two. Stay current with the major manufacturer announcements and you will recognize the question format when it shows up on test day.
Workflow software has changed substantially in the last five years. Most major scanner vendors now offer one-click protocol loading for whole body screening, where you select the indication from a dropdown and the system loads every sequence, coil configuration, and station landmark in the correct order. This is enormously helpful for throughput, but it also creates a complacency risk.
The tech who relies entirely on the dropdown loses the muscle memory for manual setup, and when the software glitches mid-shift you end up with patients on the table while you try to remember how to manually link stations. Practice both modes. The exam will test the manual workflow more often than the one-click workflow.
MRI Questions and Answers
For technologists preparing for the ARRT MRI registry or the ARMRIT exam, whole body MRI questions appear in the patient care, image production, and procedures sections. Expect scenarios that test your understanding of station planning, coil daisy-chaining, SAR management, motion compensation, and patient screening for diverse implants.
The exam loves edge cases — a patient with an old IUD whose composition you do not know, a pacemaker labeled MRI-conditional but at 1.5T only, or a tattoo with metallic ink that has never given problems but theoretically could heat. Practice the screening conversation until you can run it without notes.
The clinical pace of whole body MRI is unforgiving. Centers that offer it run tight schedules — one patient per hour during business hours, with little buffer for delays. Master the workflow on your scanner manufacturer's software, learn the protocol selection tree by heart, and develop a positioning routine you can execute in under 90 seconds.
The faster and more consistent your setup, the better your image quality and the happier your radiologist will be at the end of the day. Whole body MRI is a high-skill, high-volume specialty, and the techs who own the workflow are the ones who command the best shifts and the best pay. Build the skill now while the field is still growing.
One area registry candidates routinely underestimate is the safety screening conversation for patients who have multiple implants. A patient may have had a hip replacement in 2010, a coronary stent in 2015, and dental implants throughout. Each device has its own MRI conditionality profile, and the labeling has changed over the years as manufacturers updated their safety testing.
You cannot rely on the patient's memory of what they were told a decade ago. The current best practice is to look up every implant by manufacturer and lot number in the MagResource or MRIsafety.com database before the scan, and to document the lookup in the patient record. If you cannot verify conditionality, the scan does not happen.
The final practical tip for techs new to whole body MRI is to build a personal protocol cheat sheet. Note the SAR ceilings you hit on different scanner builds, the breath-hold durations your slow patients can manage, and the coil combinations that gave you trouble. Review it weekly. The patterns you spot in your own logbook will teach you more than any textbook chapter on whole body imaging.
About the Author
Medical Laboratory Scientist & Clinical Certification Expert
Johns Hopkins UniversityDr. Sandra Kim holds a PhD in Clinical Laboratory Science from Johns Hopkins University and is certified as a Medical Technologist (MT) and Medical Laboratory Scientist (MLS) through ASCP. With 16 years of clinical laboratory experience spanning hematology, microbiology, and molecular diagnostics, she prepares candidates for ASCP board exams, MLT, MLS, and specialist certification tests.
Join the Discussion
Connect with other students preparing for this exam. Share tips, ask questions, and get advice from people who have been there.
View discussion (6 replies)