
Bartender Kit: Essential Tools, Costs & What to Buy First 2026 October
🏆 Bartender kit essentials: 12 must-have tools, real costs ($60–$120 starter), what to skip, and how your gear ties into certification and bar work.
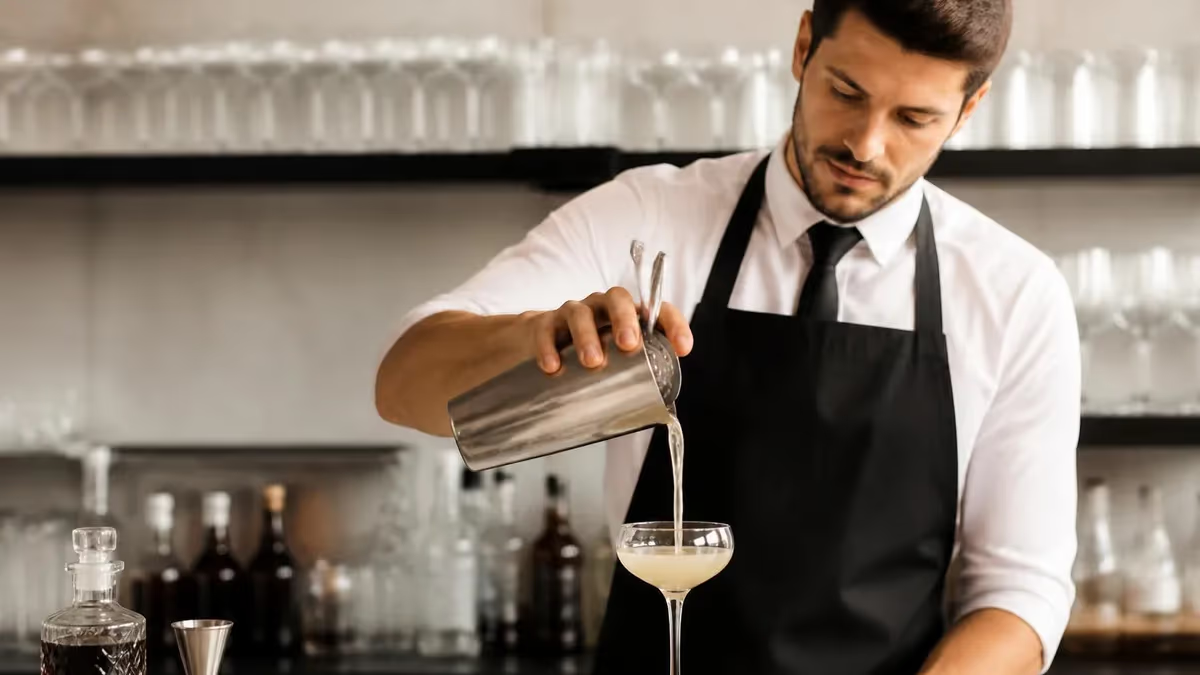
Walk into any decent bar without your own kit and you'll feel it within the first ten minutes — borrowed jiggers that don't measure right, a strainer that drips down your wrist, a bottle opener that's gone missing again. A bartender kit isn't a luxury. It's the difference between looking sharp on a Friday rush and fumbling like it's your first shift.
Whether you're prepping for a certification, picking up shifts at a new venue, or building out a home bar that doesn't embarrass you in front of guests, the right tools matter. This guide walks you through what actually belongs in a kit, what's marketing fluff, and how to choose pieces that survive real bar work — not the shiny stuff that bends after two weeks.
You'll also see how a solid kit fits into the bigger picture: training, licensing, and the kind of speed that gets you tipped well. If you're studying for a certification or working toward your first paid gig, treat the kit as part of the craft, not separate from it.
The Core Tools Every Bartender Kit Needs
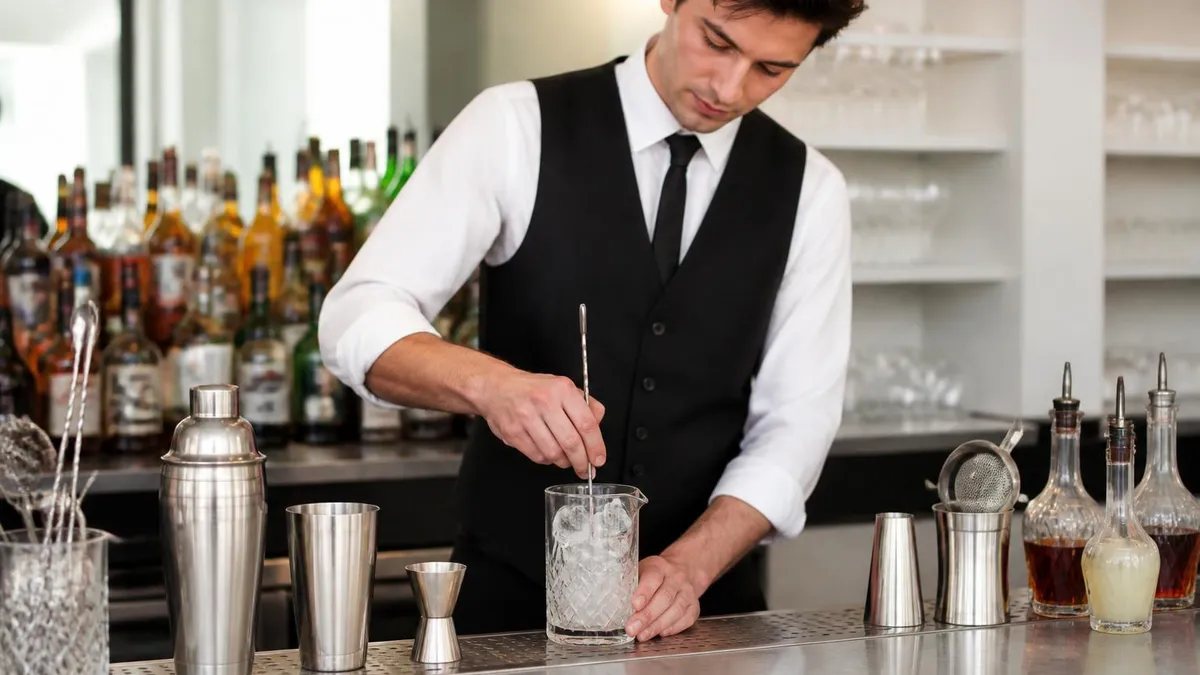
Strip away the gimmicks and a working bartender kit comes down to maybe a dozen pieces. These are the tools you'll touch on every shift — the ones that need to feel right in your hand before anything else matters.
Boston shaker (two-piece)
Two metal tins, one slightly smaller, sealed by a tap of the heel. Forget the three-piece cobbler shaker for serious work — it freezes shut, it's slow, and you'll fight it during a rush. A weighted Boston tin with a 28oz/18oz pairing is what most pro bars run. It chills faster, opens cleaner, and lasts years.
Hawthorne strainer
The flat one with the spring coil. It fits inside the larger Boston tin and catches ice plus muddled bits. Gauge matters — cheap ones flex and let chunks through. You want something stiff with a tight spring.
Fine mesh (julep) strainer
For double-straining cocktails with citrus pulp or muddled herbs. A small handheld mesh sieve does the job. Skip this and you'll serve drinks with floaters — fine in your kitchen, not behind a bar.
Jigger (dual-sided)
The Japanese-style 1oz/2oz jigger with internal markings (½ oz, ¾ oz, etc.) is the standard. Get one that doesn't slosh — meaning it has a slight lip, not a flush rim. A bartender who eyeballs everything is either showing off or pouring badly.
Bar spoon
Long, twisted shaft, weighted at one end. You'll use it for stirring, layering, and measuring small dashes. A good one balances on your fingers and spins smooth between thumb and index.
Muddler
Wood or stainless. Avoid lacquered wood — it chips into drinks. A textured base on stainless works fine and won't stain. You need this for mojitos, old fashioneds (sugar cube), and anything with fresh herbs.
Channel knife and citrus peeler
The peeler gives you wide twists; the channel knife cuts thin spiral garnishes. Both are cheap, both are essential. A quality paring knife rounds out the citrus station.
Bottle opener and wine key
The "speed opener" (a thin metal wedge with a hole punched through) is the bar standard — fits in your back pocket, pops caps in a flick. A double-hinged wine key handles corks fast. Don't bring a corkscrew with a single hinge — it'll snap corks half the time.
Sample Bartender Certification Practice Questions
Try these questions from our free Bartender Certification practice tests. The correct answer and an explanation follow each question.
A customer requests a full-bodied Cabernet Sauvignon. What is the generally recommended serving temperature range to best express its aromas and flavors?
- A. 38-45°F (3-7°C)
- B. 44-55°F (7-12°C)
- C. 60-68°F (15-20°C)
- D. 70-75°F (21-24°C)
Answer: C. 60-68°F (15-20°C)
Full-bodied red wines like Cabernet Sauvignon are best served slightly below room temperature, generally between 60-68°F (15-20°C). Serving it too cold will mute its complex aromas, while serving it too warm can make the alcohol taste more pronounced and the flavors seem dull.
What is the primary characteristic that distinguishes an India Pale Ale (IPA) from other pale ales?
- A. A higher malt content, resulting in a sweeter taste.
- B. A lower alcohol by volume (ABV).
- C. A more pronounced hop character, leading to higher bitterness and aroma.
- D. Fermentation with lager yeast at colder temperatures.
Answer: C. A more pronounced hop character, leading to higher bitterness and aroma.
India Pale Ales (IPAs) are known for their assertive hop profile. Historically, the high hop content acted as a preservative for the beer during long sea voyages. This results in a beer with higher bitterness (measured in IBUs) and a strong hop aroma, which can range from citrusy and fruity to piney and resinous.
What is a 'par level' in bar inventory management?
- A. The standard price for a drink
- B. The minimum stock quantity that triggers a reorder
- C. The alcohol percentage of a spirit
- D. The number of bartenders per shift
Answer: B. The minimum stock quantity that triggers a reorder
Par level is the minimum amount of each product that should be on hand; when stock drops to par, it's time to reorder.
What distinguishes a 'lager' from an 'ale' in beer production?
- A. Lager is always darker in color than ale
- B. Lager uses bottom-fermenting yeast at cold temperatures; ale uses top-fermenting yeast at warmer temperatures
- C. Ale has a higher alcohol content than lager
- D. Lager is brewed with wheat; ale is brewed with barley
Answer: B. Lager uses bottom-fermenting yeast at cold temperatures; ale uses top-fermenting yeast at warmer temperatures
The key distinction is fermentation: lagers use Saccharomyces pastorianus (bottom-fermenting) yeast at cold temperatures (35–50°F), while ales use Saccharomyces cerevisiae (top-fermenting) yeast at warmer temperatures (60–75°F).
How to Choose a Kit That Survives Real Bar Work
Marketing photos lie. A kit that looks beautiful on Amazon can be stamped from soft alloy that scratches, dents, and leaks plating into your drinks within months. Here's how to filter out the junk.
Material matters more than finish
Stick with 304 (or 18/8) stainless steel for shakers, jiggers, strainers, and spoons. It resists corrosion, takes a beating, and doesn't react with citrus. Copper-plated tools look gorgeous on a shelf and are a nightmare in service — the plating wears through, then you've got bare base metal touching alcohol.
Weight tells you something
Pick up a Boston tin. If it feels feather-light, it's thin gauge — it'll dent the first time it hits the bar mat hard. A weighted shaker should feel substantial, almost too heavy at first. That weight is what lets you seal the tins with one tap.
Avoid kits with too many gadgets
You don't need a bottle pourer for every spirit, a cocktail smoker, three different muddlers, or branded bar towels right out of the gate. A 23-piece kit is usually padding the count with stuff you'll never use. Twelve solid tools beats twenty-three flimsy ones.
Try before you commit if you can
If there's a restaurant supply store nearby, go pick the tools up. The feel of a jigger in your hand, the spring tension on a Hawthorne, the balance of a bar spoon — none of that comes through in product photos. Online shopping works once you know what you like.
Why Your Kit Connects to Certification
If you're studying for a license or working toward employment, your kit is part of the training, not separate from it. You can't build muscle memory borrowing tools that feel different every shift. Most candidates preparing for the bartender certification test spend weeks practicing fundamentals — pour control, shake counts, garnish prep — and the people who own their gear progress measurably faster.
State requirements vary, too. Some places need an alcohol-server permit before you can pour, others want a full bartender license with hours logged behind a bar. Knowing the rules where you live saves you from scrambling later. If you're new to the industry, the how to become a bartender path lays out the realistic steps — schooling, certification, first jobs, advancement.
Speaking of schooling — opinions split here. Bartending school isn't required to get hired, but it shortcuts the learning curve and gives you legitimate practice hours. Whether it's worth the tuition depends on your local job market and what kind of bar you're aiming to work. Some venues prefer hands-on barback experience; others love the structured curriculum.
The Mistakes Most Beginners Make
The single biggest mistake? Buying a 25-piece kit on day one. You don't know what you need yet. Start with the basics, work a few shifts (paid or training), then add pieces as gaps show up. You might find you never reach for the channel knife. You might find you need three jiggers because you keep losing one. Let your actual workflow shape the kit.
Second mistake — chasing aesthetics. Gold-plated jiggers look great on Instagram and corrode within months. Wooden muddlers with painted handles flake. Branded shakers with logos peel. Plain stainless wins every time, even if it's boring.
Third — neglecting maintenance. Rinse everything immediately after use. Citrus residue eats at finishes. Sticky liqueurs gum up springs. A two-minute rinse-and-towel routine after each shift adds years to your tools. Toss the dishwasher idea — heat warps, soap residue lingers, and the wash cycle dulls edges.
Building Your Kit in Stages
If you're starting tight on cash, here's a sane order to buy:
Stage one — the bare minimum (~$40): Boston shaker, Hawthorne strainer, dual jigger, bar spoon, speed opener. With these five you can make 80% of classic cocktails competently.
Stage two — rounding out (~$30 more): Muddler, fine mesh strainer, paring knife, peeler, double-hinged wine key. Now you can handle muddled drinks, properly strained sours, and bottle service.
Stage three — pro touches (~$50 more): Channel knife, mixing glass, julep strainer, bottle pourers (set of six), small cutting board. At this point you've got everything for craft work — Manhattans, martinis, layered drinks, everything.
Total damage if you build smart: about $120. Compare that to the $200+ "complete" kits with twenty pieces of forgettable junk and the math is obvious.
Where to Use Your Kit Beyond Day Job Bartending
A solid kit pays for itself fast if you take side work seriously. Mobile bartending — weddings, private events, corporate parties — pays well and the demand is steady. Owning your kit (and ideally a roll-up case) is the entry point.
Plenty of working bartenders pick up event shifts on their off-days. Catering companies, event planners, and venues all hire freelancers — it's how a lot of people get into bartending jobs initially. Your kit travels with you, your skills translate everywhere, and the rates beat hourly bar wages by a wide margin.
Even if you're hunting full-time work, bartending jobs near me searches turn up steady leads in most cities. Showing up to an interview with your own gear in a clean roll says more than any resume line.
Final Word
A bartender kit is a tool of the trade, not a status piece. Buy decent stainless, learn to use each piece well, and the kit becomes invisible — which is the point. You stop thinking about the tools and start thinking about the drink, the guest, the rhythm of the shift.
Spend $80–$120 on the right twelve pieces, treat them well, and they'll outlast three of the cheap kits you'd otherwise burn through. Combine the gear with proper training, a real bartender license if your state requires one, and the kind of practice that comes from actually pouring drinks every week — and you've got the foundation that turns into a career, not just a side hustle.
About the Author
Executive Chef & Culinary Arts Certification Educator
Culinary Institute of AmericaChef Marco Bellini is a Certified Executive Chef and graduate of the Culinary Institute of America with over 20 years of professional kitchen experience in Michelin-recognized restaurants. He teaches culinary arts certification, food safety, and hospitality exam preparation, having guided thousands of culinary students through their ServSafe, ProStart, and professional chef certifications.
Join the Discussion
Connect with other students preparing for this exam. Share tips, ask questions, and get advice from people who have been there.
View discussion (7 replies)